
A visual template for explaining Profile Perfect logic puzzles, one clue, one arrow, one cell, walked through step by step using Level 4's Dress puzzle and Level 6's Bag puzzle so you can reuse the same three part map on any level.

Guide By Liam Stone
Published on July 7, 2026
Liam Stone has played Profile Perfect since the app first launched on the Apple App Store. He spotted its potential early, and that early bet turned into hundreds of hours spent solving levels, testing clue logic, and documenting answers for other players. Liam runs the YouTube channel Puzzle Game Answer where his puzzle walkthroughs have earned over 935,000 views and a growing community of more than 800 subscribers. He covers a wide range of mobile puzzle games beyond Profile Perfect, giving him firsthand experience with how these games design clues, structure levels, and trip up even experienced players. Every guide on this site reflects that hands on experience. Liam plays each level himself, verifies every answer against the in game grid, and rewrites confusing clues into plain language so you don't need to guess. If you want more of his walkthroughs, subscribe to his channel.
Loading calendar...
Most logic puzzle explanations read like a wall of text. Clue one says this, clue two says that, and by clue five you have lost track of which sentence actually filled which box. That is not how solving feels in your head. When you solve a level in Profile Perfect, each clue points at one exact spot on the grid, and your brain draws a small mental line from the words to the tap.
I want to make that mental line visible. This tutorial builds a simple three part picture, a clue on one side, an arrow in the middle, and the grid cell it proves on the other side, then walks it through two full levels so you can see the pattern repeat from the first clue to the last. Once you have the shape in your head, you can use it on any level in the game, not just the two I cover here.
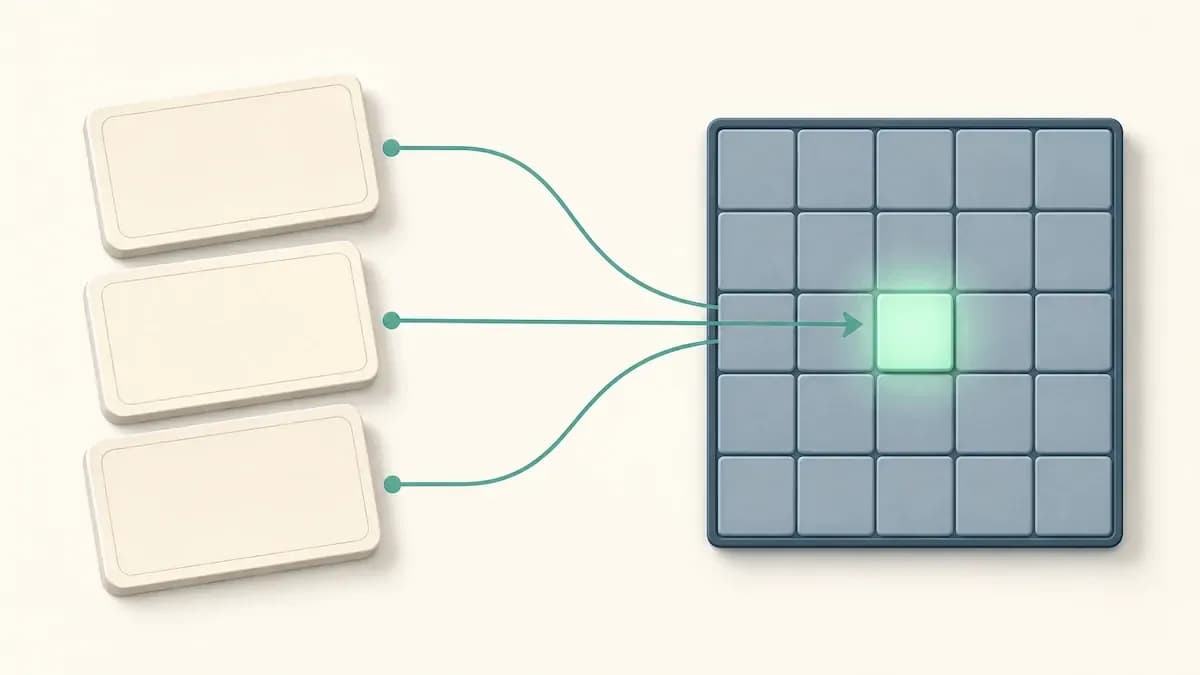
The map has three parts, always in the same order. The clue box sits on the left and holds the exact sentence the puzzle gives you. The arrow sits in the middle and does nothing but point. The grid cell sits on the right and shows the one answer that clue locks in.
That is the whole template. No extra boxes, no branching diagrams, no color coding beyond what the game already gives you. One clue, one arrow, one cell, every time.
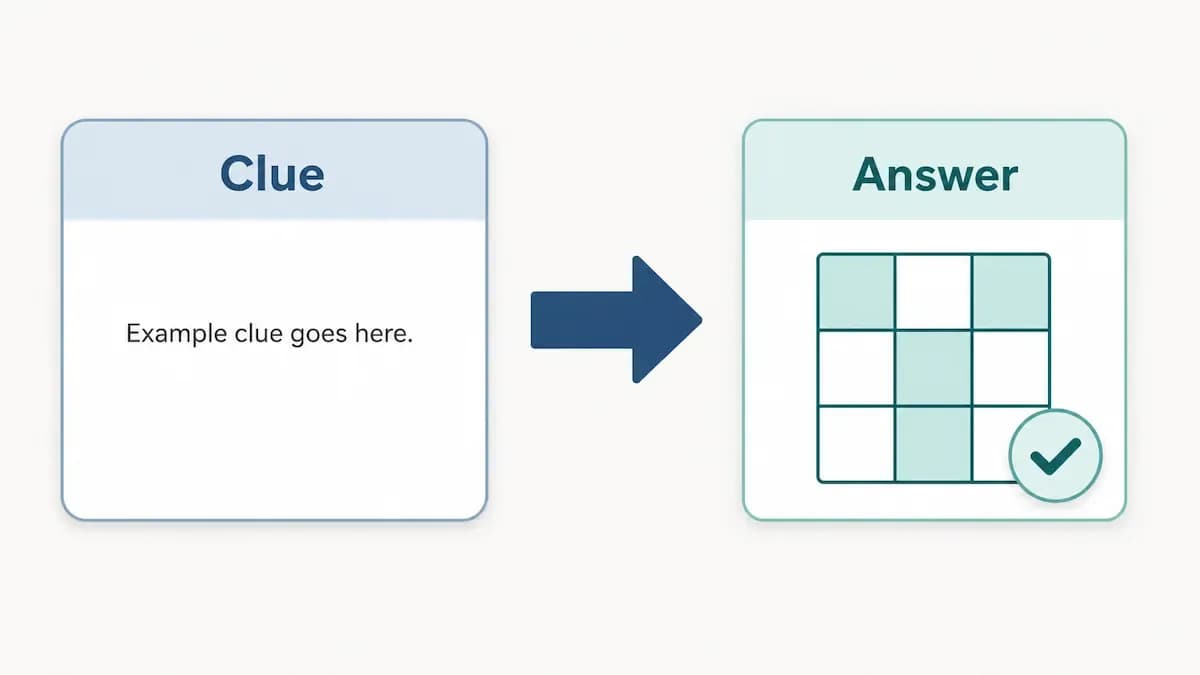
You might be tempted to group several clues into one arrow because they all point at the same trait column. Resist that. A puzzle clue explanation always backs a specific claim with a specific cell, and if you blur two clues into one arrow, you lose the exact reason each tap was safe. Keep every clue on its own line, even when two clues end up proving the same cell from different directions. You will see that happen later in the Bag puzzle.
Level 4 is a small level on purpose, three dresses matched against pattern and accessory. That size makes it the cleanest place to watch a full clue to cell map build from nothing to a finished grid.
| Dress | Pattern | Accessory |
|---|---|---|
| Dress A | Polkadot | Belt |
| Dress B | Floral | Bracelet |
| Dress C | Solid | Handbag |
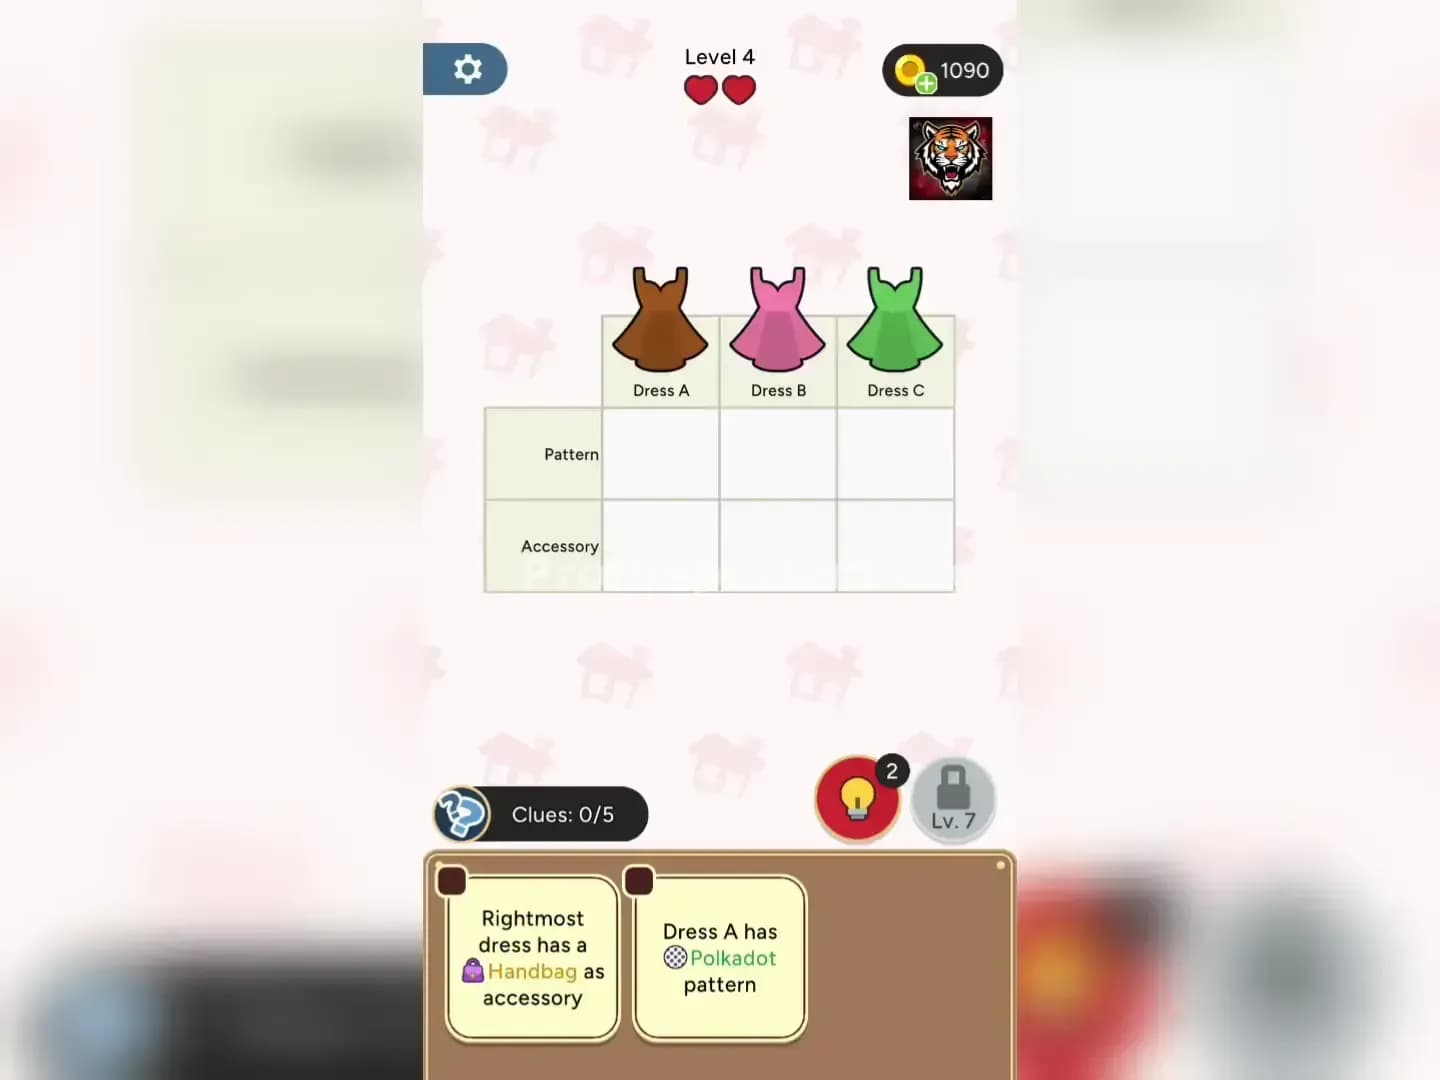
The first clue reads "Rightmost dress has a Handbag as accessory." That sentence names one dress by position and one accessory by name, so the arrow is short and direct. Dress C sits on the right, and the arrow lands straight on Dress C's accessory cell, Handbag.
The second clue reads "Dress A has Polkadot pattern." Same shape, same short arrow. Dress A's pattern cell fills in as Polkadot before you have touched anything else on the board.

The remaining three clues work the same way, one arrow each, but now the arrow only makes sense once you glance at what is already filled in. "Solid patterned dress pairs well with a Handbag" draws its arrow to Dress C's pattern cell, since Handbag already belongs to Dress C. "Floral dress is next to Polkadot dress" draws its arrow to Dress B's pattern cell, since Polkadot already belongs to Dress A. And "Floral dress is not paired with a Belt" draws its arrow to Dress B's accessory cell, landing on Bracelet because Belt and Handbag are both already spoken for elsewhere on the grid.
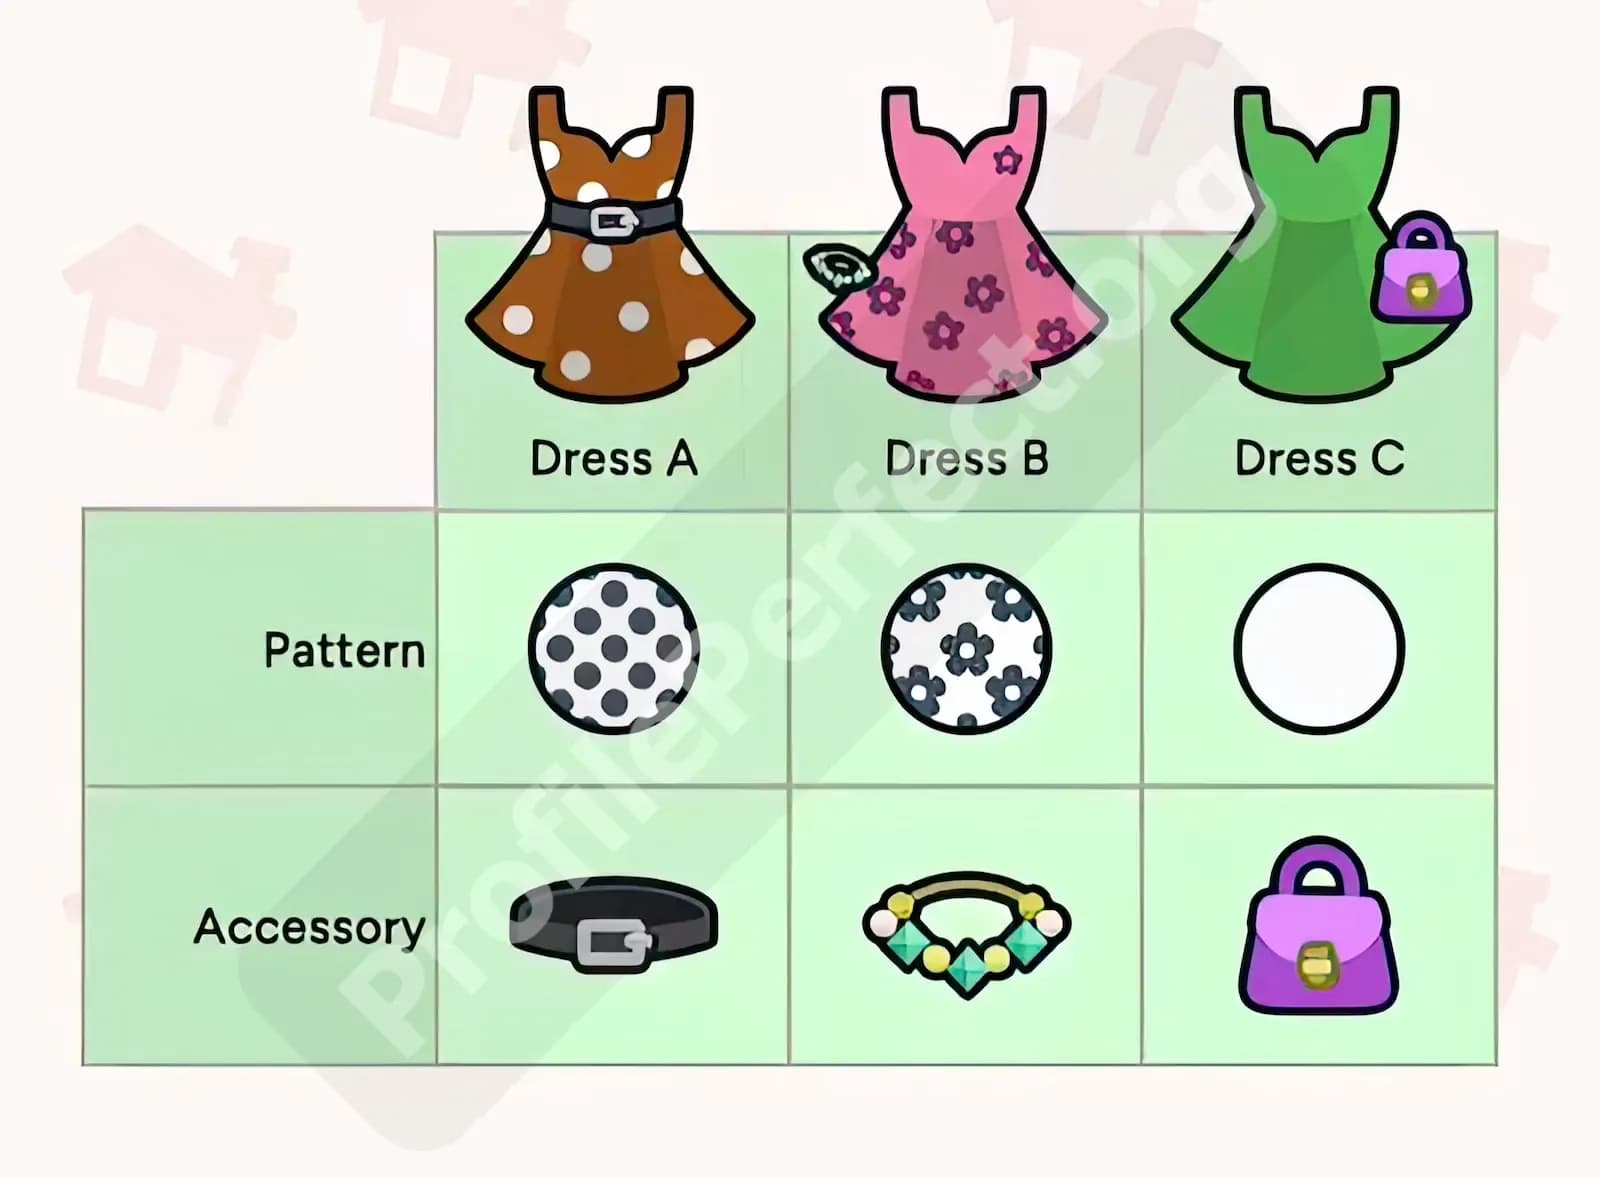
Five clues, five arrows, five cells. Nothing on this level asks you to hold more than one answer in your head at a time, which is exactly why it works so well as a first example.
Level 6 raises the stakes a little. Three bags, but now four traits each, type, color, origin, and price. This is where the clue to cell map earns its keep, because several clues here draw more than one arrow at once.
| Bag | Type | Color | Origin | Price |
|---|---|---|---|---|
| Bag A | Backpack | Red | German | Medium |
| Bag B | Handbag | Purple | France | High |
| Bag C | String Bag | Green | China | Low |
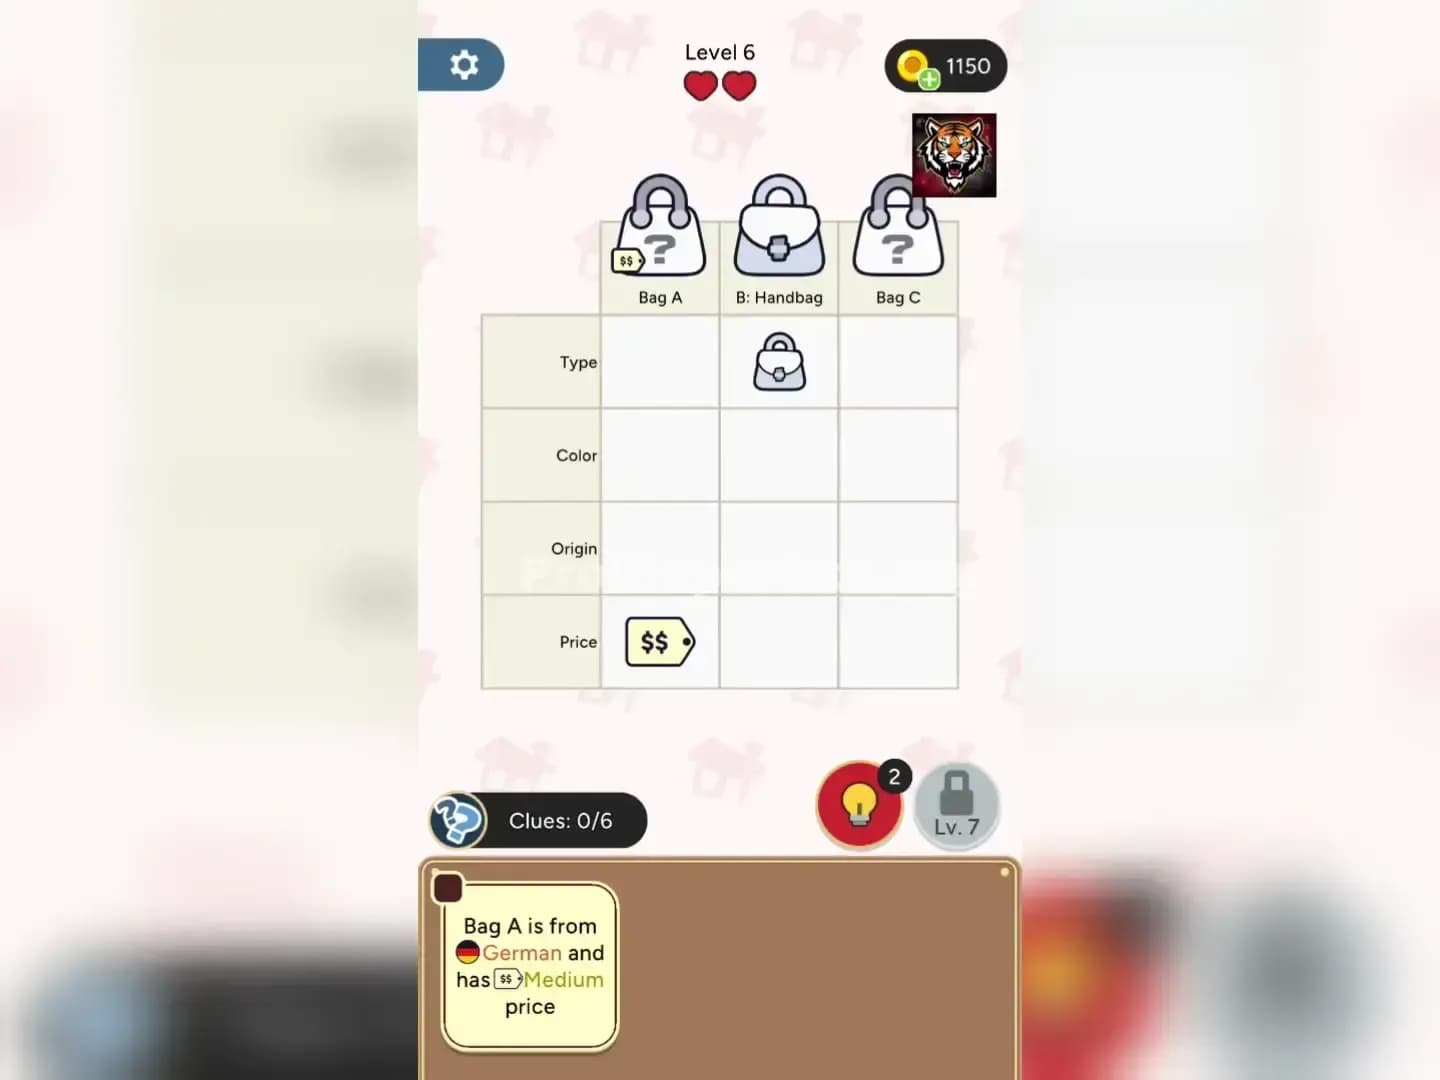
The level opens with two answers already on the board, Bag B's type as Handbag and Bag A's price as Medium. From there, "Bag A is from German and has Medium price" fires an arrow straight at Bag A's origin cell, since the price half of that sentence is already confirmed. That single arrow gives you German for Bag A with no waiting required.
"Bag C is cheaper than German bag" looks like one clue but actually needs two arrows to draw correctly. One arrow points back at Bag A's origin cell to confirm German again, and a second arrow points at Bag C's price cell, landing on Low. The clue only makes sense as a pair.
"The String Bag does not originate from German" goes a step further and needs three arrows. One arrow confirms Bag C's type as String Bag. A second arrow confirms Bag A already holds German, which is exactly the origin this clue is ruling out for Bag C. A third arrow lands on Bag C's price cell, Low, which by this point has been backed up from two directions.
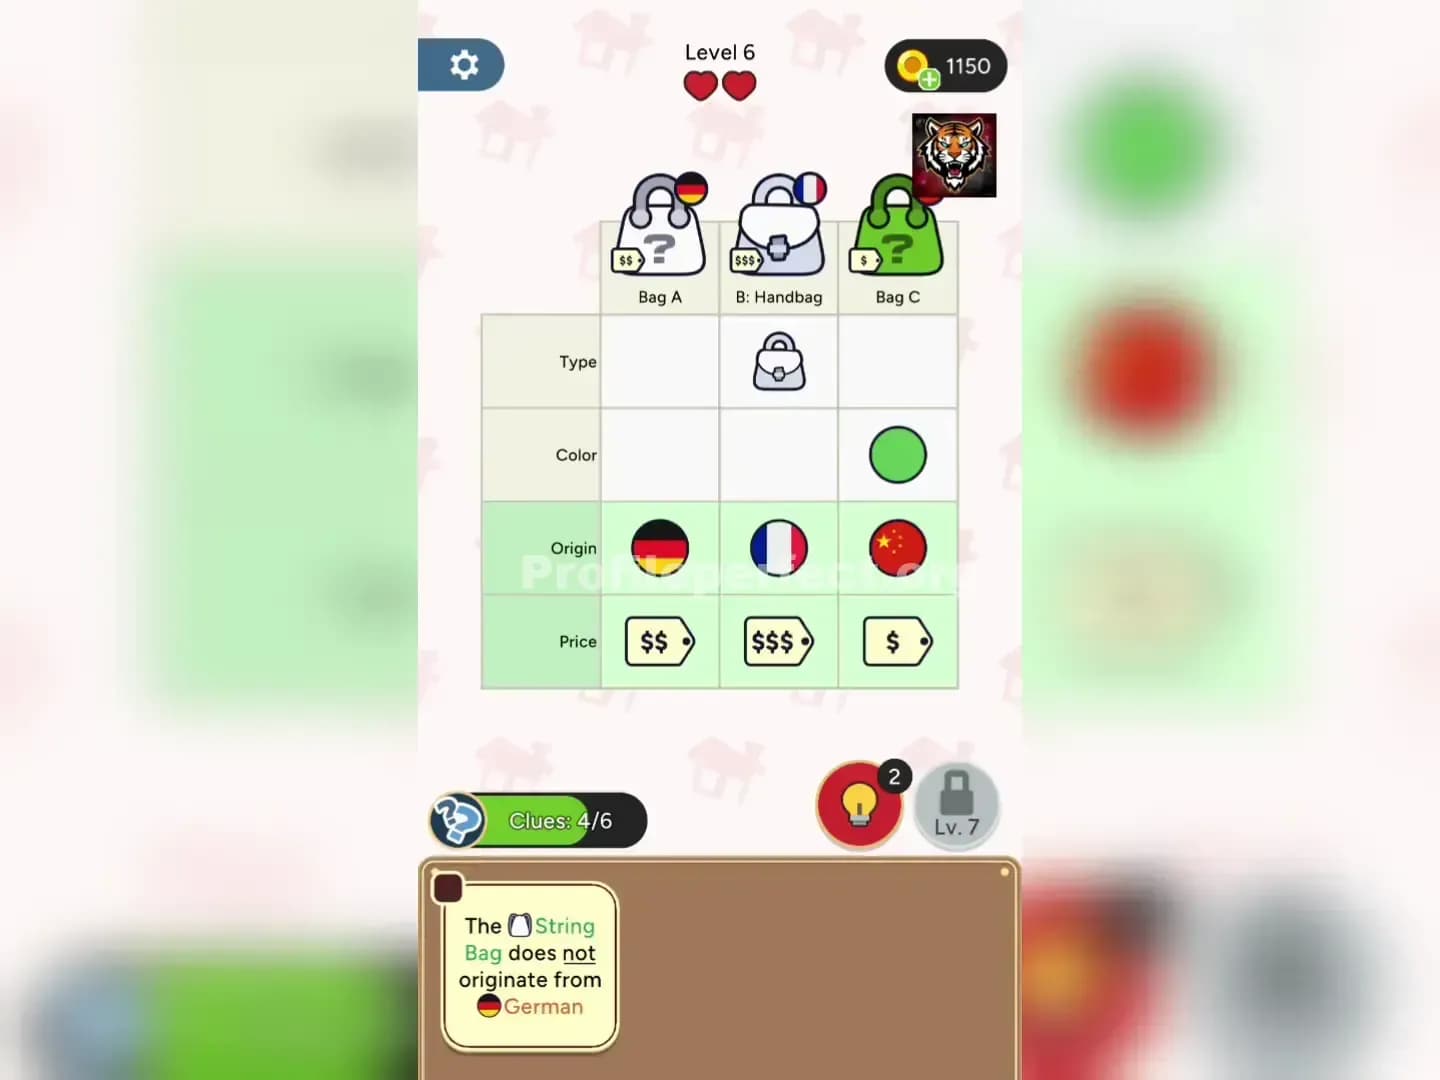
The last two clues, about the cheapest bag being Green and the French bag sitting next to the German one, plus the final clue ruling out Red for the French bag, all follow the same forking pattern. Draw every arrow the clue actually needs, not just the one that feels like the headline.
Once you have mapped two levels this way, you can build the same picture for any level in the game, no matter how many subjects or traits it has.
Start by writing the clue exactly as the puzzle shows it, in its own box on the left. Then ask how many separate facts that sentence actually contains, since some clues carry two or three facts stitched together with a comma or the word "and." Draw one arrow per fact, not one arrow per sentence. Finally, land each arrow on the specific cell that fact proves, checking the current state of the grid if the clue depends on something you already solved.
Stop once every cell on the grid has exactly one arrow pointing at it. If a cell has zero arrows, you are missing a clue or you solved that cell through elimination rather than a direct statement, which is worth marking differently so you do not confuse a proven cell with a guessed one. If a cell has more than one arrow, that usually means two clues both confirmed the same answer from different angles, which is a good sign you read the level correctly rather than a mistake to fix.
This method pays off most on levels with four or more traits, where a wall of clue text starts to blur together in your head. Smaller levels like the Dress puzzle barely need the picture, but they are the best place to practice drawing it, since you can check your work against a finished three cell grid in seconds. Once the shape feels natural, carry it into bigger levels where a single clue might fork into three cells, and you will find yourself reading those levels faster instead of rereading the same sentence three times.